
While this tutorial is free, it is not to be sold, nor are the products made from this tutorial to be sold. This is takes a lot of time to come up with, execute, and post.
Please give credit to @kawaii.nuimos for the poncho and @disneynuimosdiy for the hood on Instagram and refer people to this blog for the tutorial, which will also lead to the blog for the hood.
At this time, the measurements are for Minnie and Mickey, because I do not know how they fit on the others yet. However, I will include instructions to figuring out the size for your other nuiMOs, just in case.
Materials:
- 1 sheet of yellow felt (I used polyester. I can not guarantee the Mickey will adhere properly to wool felt).
- Yellow thread or embroidery thread
- 1 sheet of printable, iron-on transfer. Make sure to choose inkjet for an inkjet printer, laser for a laser printer, etc. The regular transfers work well. The ones made for dark fabric are not necessary unless you are using a dark fabric.
- 3 pairs of small eyelets and hooks (2 more pairs if not using magnets, velcro, etc. options)
- Magnets (optional). I use these where there are snaps on the real-life ponchos. Eyelets and hooks, velcro, or snaps can take the place of these. You can find the magnets at about $10 for 300 on Amazon. The ones I use are 3mm x 1mm. I recommend these for the magnetic bow modification, and for general light props. They are worth the purchase!
- E6000 glue if using magnets. A glue gun MIGHT work as a substitute. I also think Gorilla Glue brand may work as well. The point it to have a glue that adheres to felt, but it also strong enough to hold magnets.
Tools:
- Sewing needle
- Clothing iron
- Scissors
- xacto knife. I recommend a #11 blade for precision.
- Cutting mat or piece of cardboard for using xacto knife.
- 1 sewing pin or safety pin
- A way to mark the felt if doing ear slits. I used a pastel purple Pilot Frixion highlighter, because I had it on hand and all Pilot Frixion produces are removable by heat or water!
- Printer
Step 1: Cut out the felt for the hood x2. The pattern for the hood can be found over at Disney nuiMOs DIY on Blogspot. The blog has wonderful resources that many of us have appreciated already! The lovely crafter who published them is also found on Instagram! Go check them out! @disneynuimosdiy
Step 2: Place the two pieces of felt together and sew the hood’s curve. I used a running stitch for this.

Step 3: Open up the hood, but keep the wrong-side out. Sew the hood brim by folding the edges a little toward the top. I folded the edge by about 1/3cm (just enough to fold and stitch), and used a whipped hem stitch.

Step 4: Cut out two felt squares for the body with the measurements indicated (if you have another nuiMo than Minnie and Mickey, continue within this step to read how to make this to fit your own) and add the neck cut-out and the cut down the middle according to the diagram (photo is not a pattern, but a guide). The photo of the front slit is in the next step.
If you have a non- Minnie and Mickey nuiMOs: Measure from the top of the shoulder, down the backside to the height of the tops of their feet. That is your height measurement. Measure from wrist to wrist (on Minnie and Mickey, this is their glove line, for instance). This is your width. The next curve should remain the same.


Step 5: Take these two squares and match the shoulders together. Sew just these shoulders together. I used a whip stitch for this, but kept both pieces of fabric flat, end to end; no overlaps.

Step 6: Turn the hood inside out (it should now be regular). Lay the body piece down with the front closest to you and the back further away. The right side (side without thread knots) should be facing up. Find the back seam of the hood and place that seam at the center of the neck curve on the back body piece, but with the edges at the center (don’t worry about the rest of the hood yet) parallel together (right-side to right-side as shown in the photo). Pin the hood as shown to the back body piece in this position.
If your nuiMO is not Mickey or Minnie: Try the poncho on at this time. If the front slit is too short, then cut it longer until you can put the poncho on and off over the nuiMO’s head.

Step 7: Start sewing the pieces together; starting at the center seam and work towards the front. I used a whip stitch for this. Once you get to the edge of the hood, you can either move onto starting from the center and doing the same to the other side of the hood, or you can give the whole poncho a more finished look. If you want to do the finished look, continue the neck and down the front slit with a blanket stitch. Repeat for the other side of the hood; starting at the center seam again. I do this from the seam each time to keep the hood seam centered. Some fabrics have a tendency to stretch as you stitch them (even when pinned), so this helps the hood to stay perfectly in place and allow for stretching without effecting the hood placement.
Step 8 (optional, but worth it): For a more finished look, do a blanket stitch around the whole outside of the body.
Step 9: Sew 3 pairs of eyelets and hooks (evenly distributed; 3 eyelets on one side, 3 hooks on the other. Possibly more if you made the front slit longer) to the inside edge of the front neck slit.
Step 10: Use E6000 glue to make a dab at the edge of the body, about 3.5cm from the bottom. Do this on all 4 areas of the body like this; be sure to keep North and South on the magnets in mind when glueing, so they do not repel; front body piece magnets stick to back body piece magnets. An alternative to magnets are eyelets and hooks, velcro, or snaps. Let the glue cure enough to hold the magnets.
Step 11: This part is a little bit of your own exploration. All computers, printers, programs etc. are different, so I can’t write instructions for them all. Use this Mickey image (I already made it reversed for you, but if your transfer is not the type that needs reversing, you need to reverse it back). I resized it to be 5cm tall on mine. I have an HP printer, so I used the HP Smart app and eyeballed the sizing, then moved the image to the corner of the page. I ran the iron-on transfer through the printer. If I messed up on sizing, I moved the image in the app to a different part of the page and ran it through again.


Step 12: Cut around the Mickey Mouse image to remove it from the page. Use and xacto knife to cut around the image. as close as possible. For added accuracy, also cut the part between the body and arm. The transfers are not quite as sturdy, so I recommend skipping the tail.

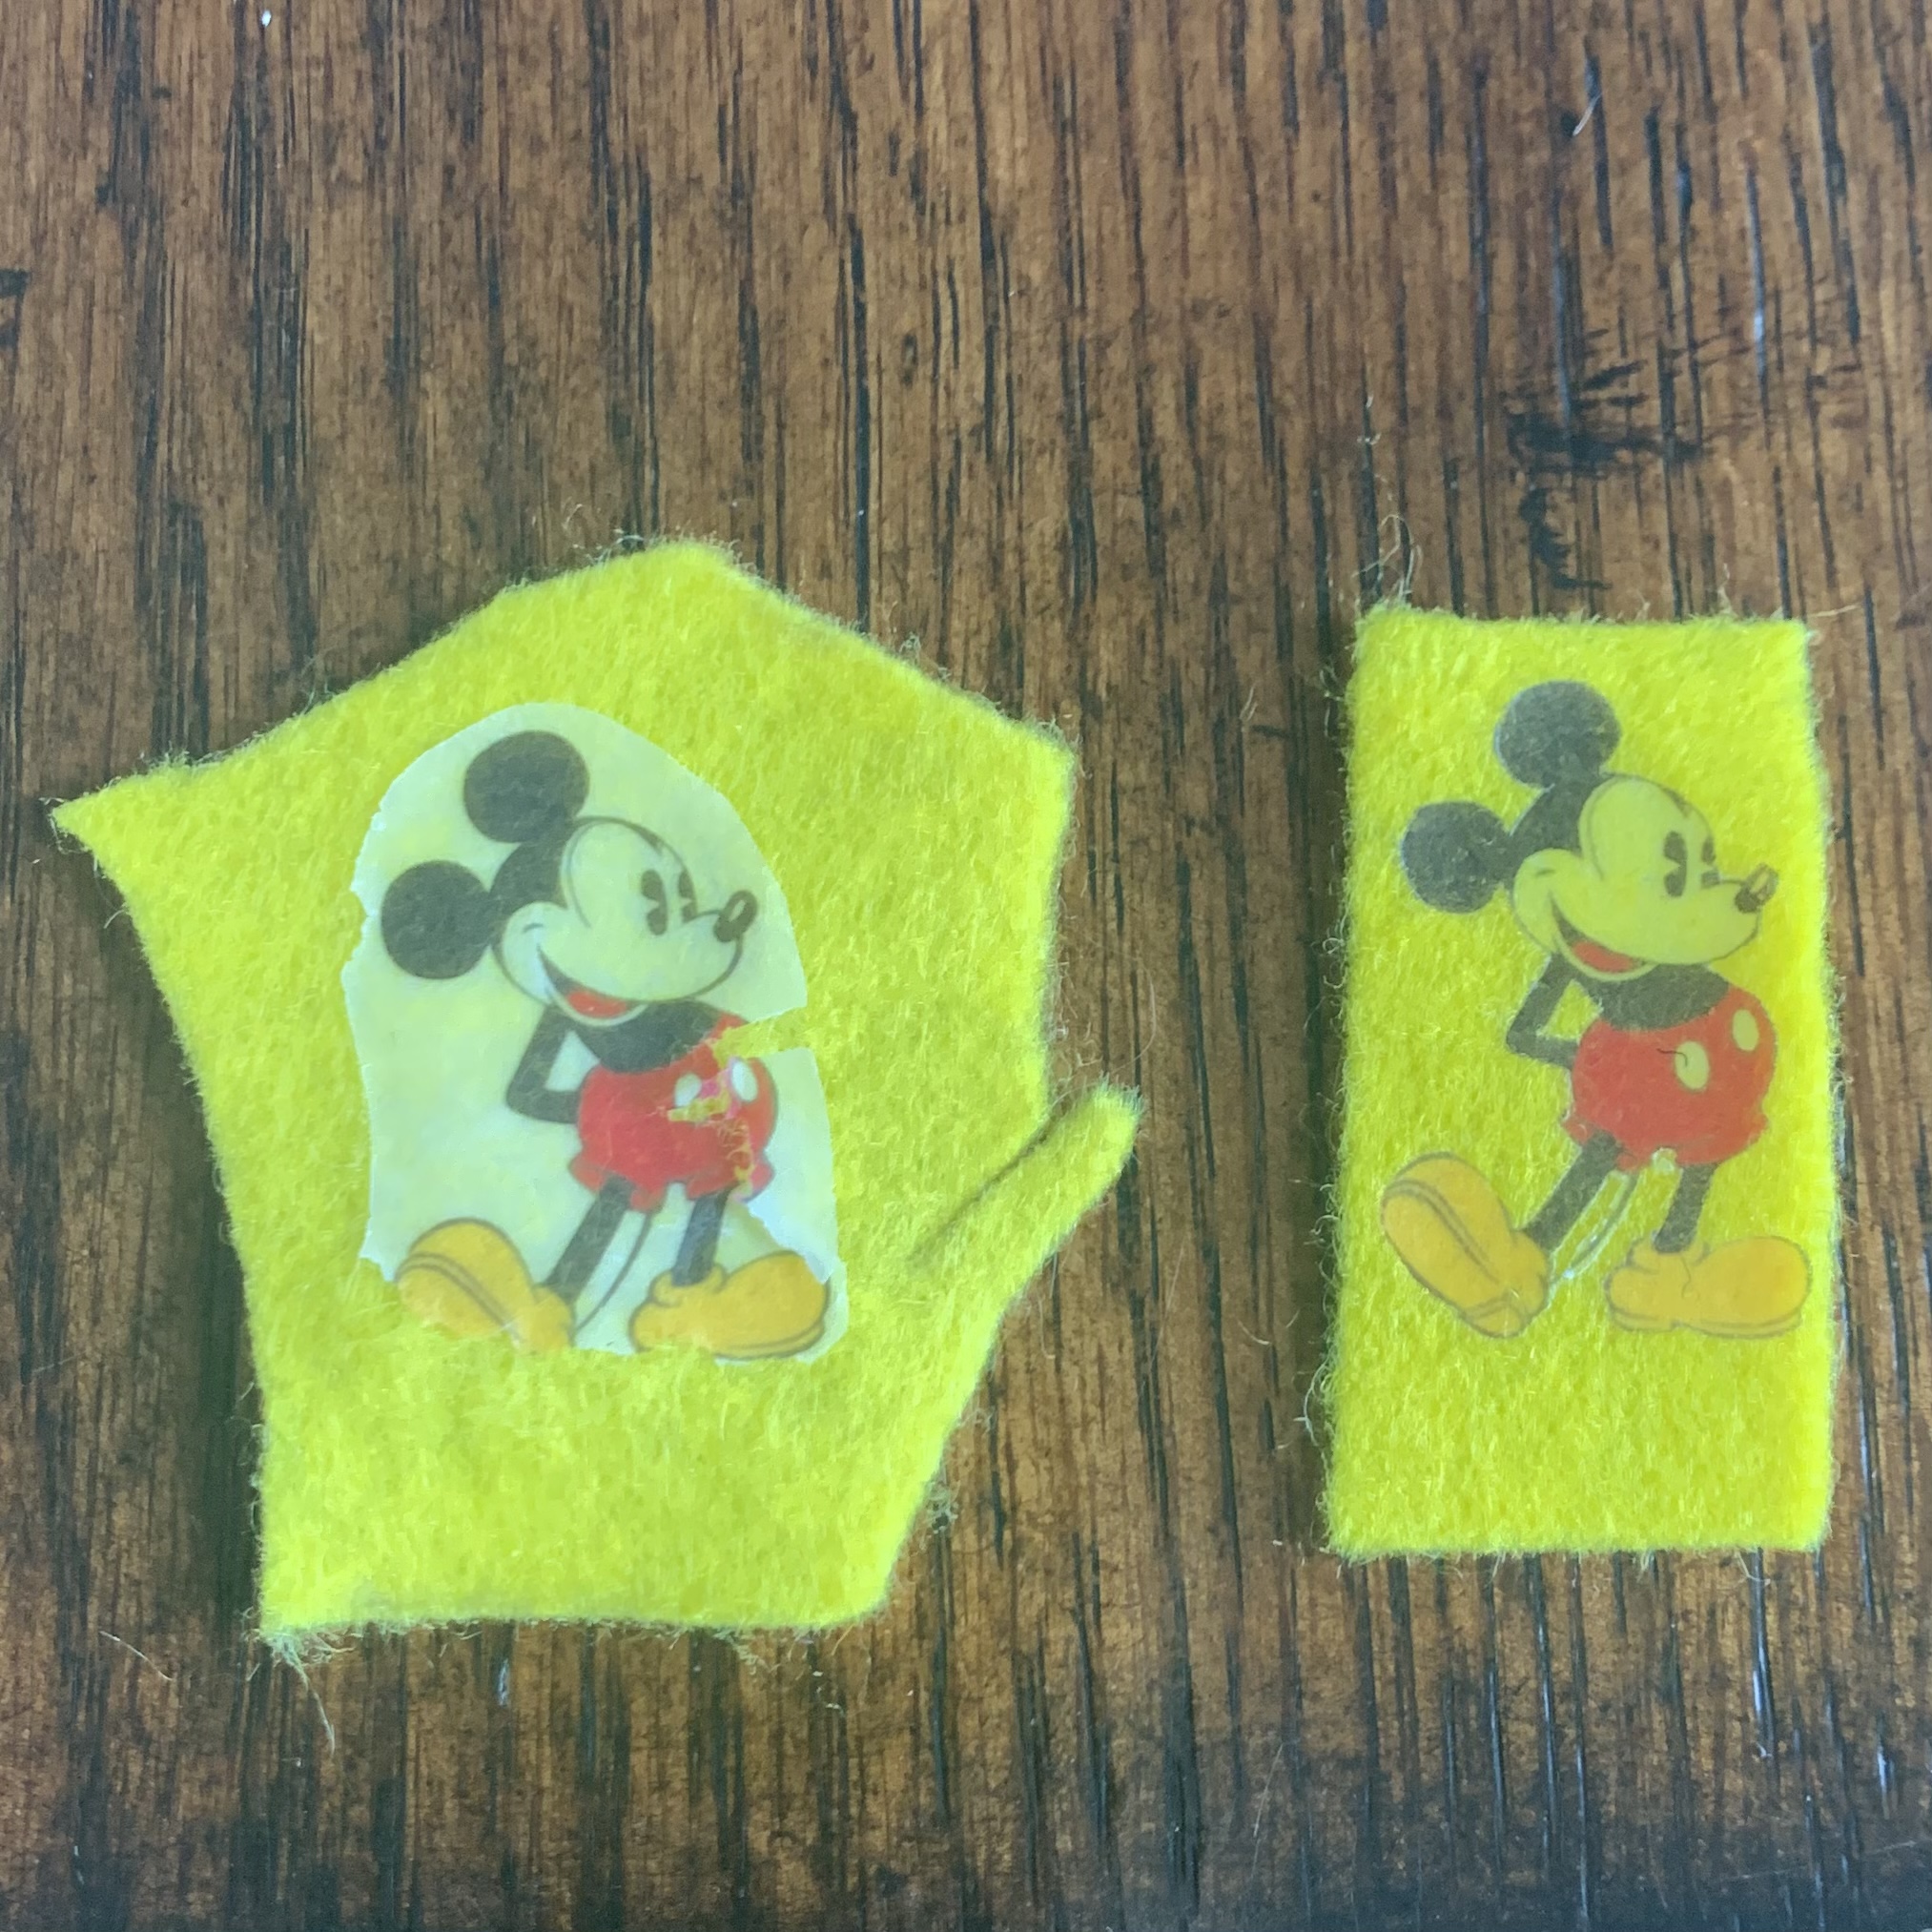
Step 13: I recommend doing a test run of transfers on a scrap piece of felt. I did this and am so glad I did. The first run did not work as well (pic shown for comparison, and also shows the difference of loosely cutting around vs. exacto knife). Testing this process can save you a lot of frustration, because fixing this is not as easy. Iron the transfer onto the back of the poncho. The instructions for the iron on may be different, but I found it needed lots of pressure and over the 3 minutes recommended. Give it more time than you think. I found the image started showing through the other side a little when fusing. Give the edges of the image extra attention. Wait for it to cool (a few minutes), then remove the paper carefully. If any of the edges do not transfer, start to tear, etc. iron it longer.
Optional Ear Slits: The ear slits allow Minnie and Mickey’s ears to come through the hood. If you do not have Mickey and Minnie, but want ear slits for other characters, accessories, etc. then the same techniques apply, but the measurements do not. The diagram is roughly the measurements I did, but I did it as follows: Put the poncho on your character. Put the hood on and place it where you prefer. Feel for one ear, place your fingernail there and bend the hood back until you see the base of the ear. Mark at the fold the length from one edge of the ear to the other edge (just the base of the ear, not the whole ear). Repeat for the other ear. Turn the hood inside out. There should now be a line for each ear. Cut these lines. Go around these edges with a blanket stitch for a finished look. Turn the hood right side out again.


You are done!
Let me know if you tried out this tutorial! Any feedback is helpful. I am available for questions and troubleshooting! Contact me through my nuiMOs Instagram or the Facebook group!
Instagram: @kawaii.nuimos
Facebook group: Disney nuiMOs Crafters
Comments
Post a Comment